Add the store in CapiTracker
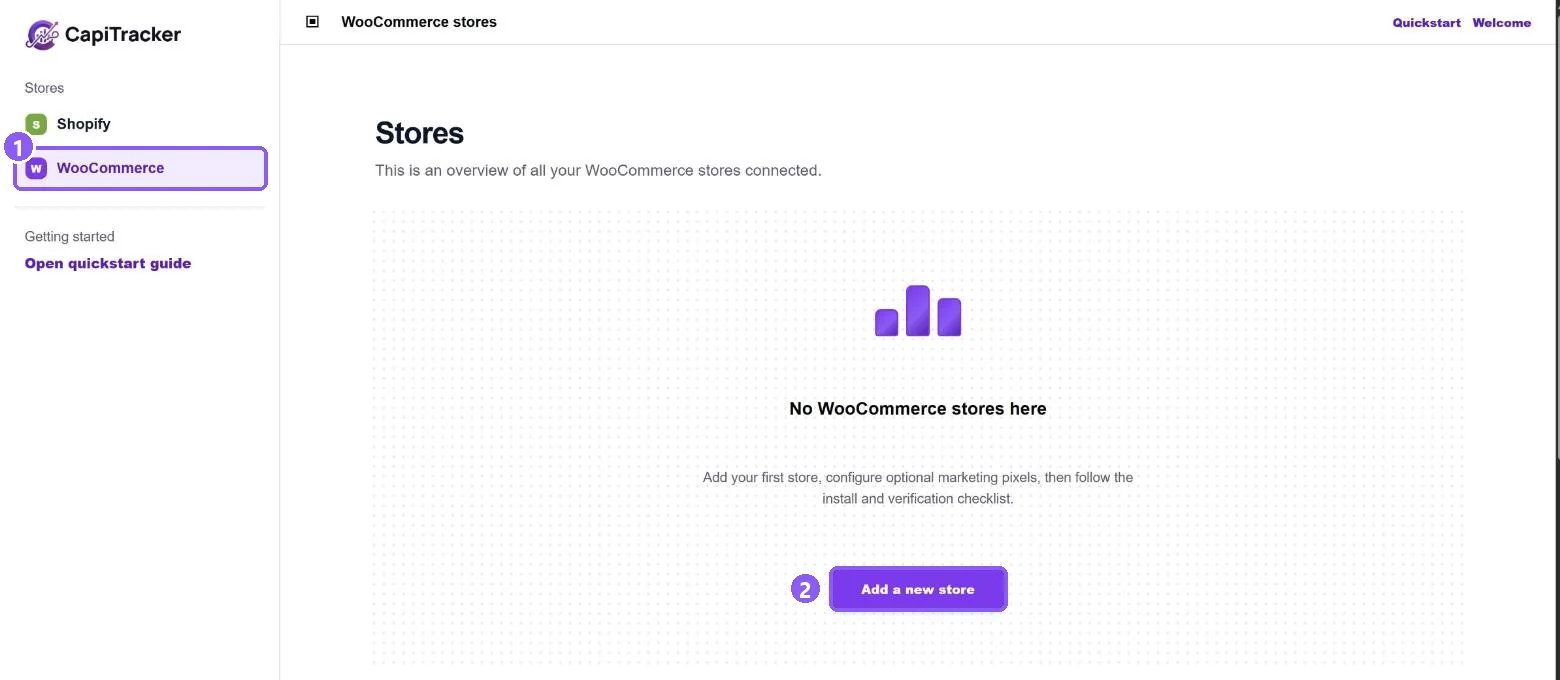
Open Stores → WooCommerce (1) and click Add a new store (2).
 All guides
 Connect a WooCommerce store
No code and no theme changes. You need to be able to install plugins in WordPress.
Open Stores → WooCommerce (1) and click Add a new store (2).
Download the CapiTracker plugin (1). Enter your Site Address exactly as in WordPress Settings → General (2), choose your timezone and click Continue (3). Then add your Meta Pixel ID and access token.

In WordPress open Plugins → Add New → Upload Plugin, choose the CapiTracker ZIP (1), click Install Now (2), then Activate.

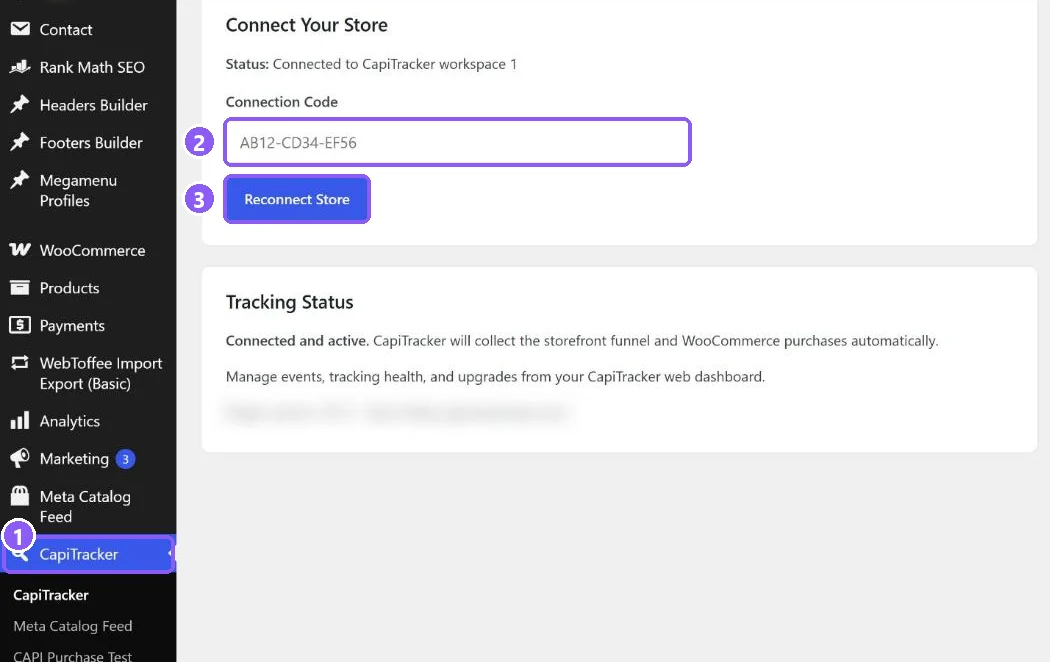
In CapiTracker open the store and click Generate connection code. In WordPress open CapiTracker (1), paste the code (2) and click Connect Store (3). The code works once and ends after 15 minutes.
Clear any cache plugin, open your shop in a browser, then click Test connection in CapiTracker. The store turns Active when the first event arrives.